
Buying a ticket
Open an event, choose a ticket type and quantity, enter your email (and name), and pay. Behind the scenes it is three steps, which matters when something fails partway:
1. A booking is created. It comes back as pending if payment is due, or paid if every ticket is free.
2. You pay. Card payment runs through Stripe's payment sheet inside the app.
3. The booking is confirmed. Only now are tickets issued against it. Confirming a booking that is already paid does nothing, so a retry cannot double-issue.
A booking is the purchase; tickets are what it contains. Buying four tickets creates one booking with four tickets in it.
Ticket types have rules the app enforces at purchase: sale start and end dates, remaining capacity, a per-order maximum (ten unless the organizer changed it), and a per-customer maximum. Free tickets default to one per customer.
Card payment is implemented for iOS and Android only. On a web build the payment step is a stub that never charges — buy from the app.
Buying without an account
You can buy as a guest. You get a booking reference by email, and you can look the booking up later with your email address plus that reference.
To hold the ticket in the app, sign up with the same email you bought with. The tickets then appear on their own.
Free events
Free registration skips the payment step — the booking is created already paid and tickets are issued immediately.
Finding your tickets
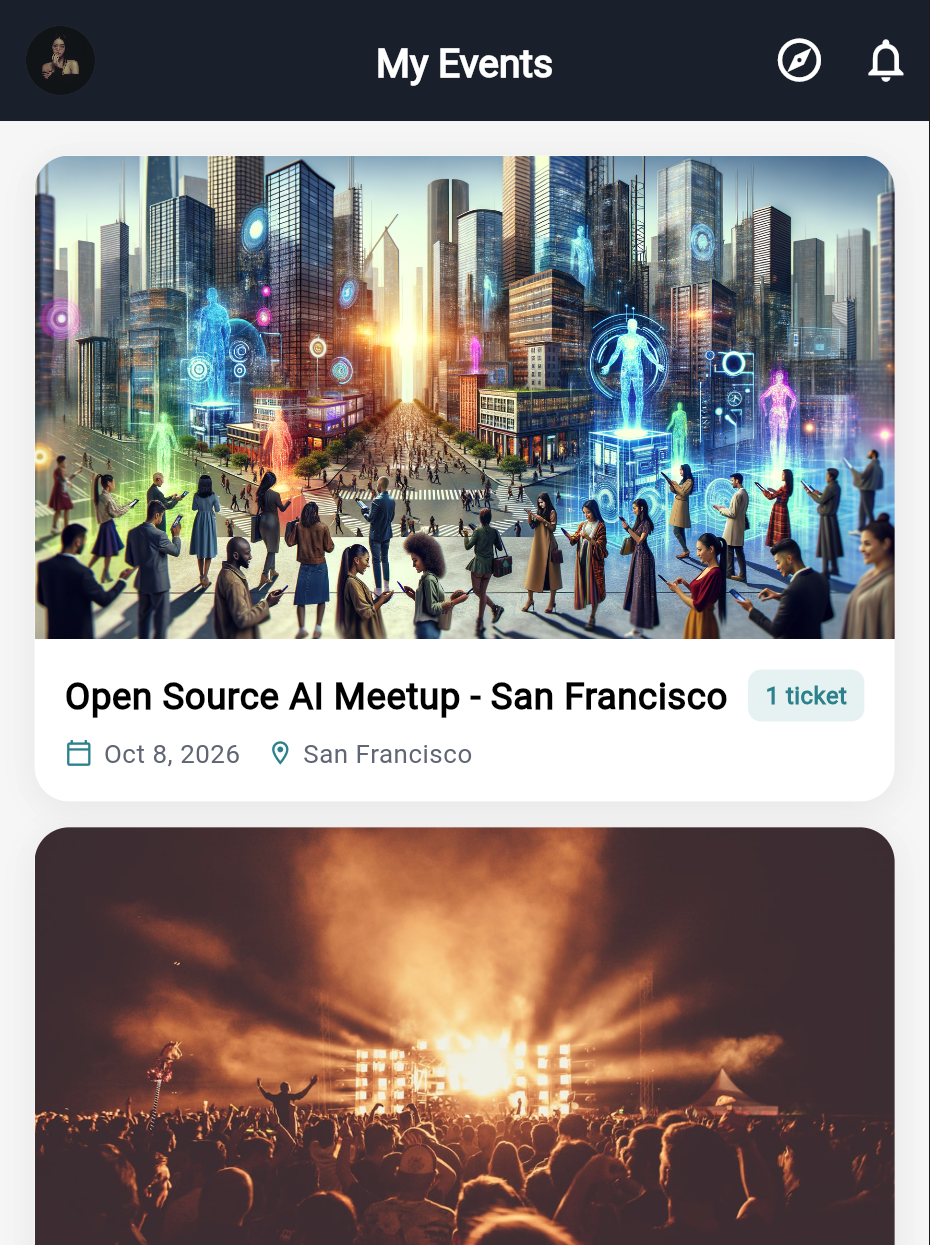
Sign in and open My Events, or tap My ticket on an event's home screen.
Tickets assigned to your email address appear automatically. There is no redeem code, no claim button, and nothing to enter.
The tickets screen lists all your tickets across all your events, not only the event you opened it from. Each card names its event, so it is easy to tell them apart, but if you hold tickets to several events do not assume the first card is the one you want.
Pin the one you need today. Long-press or use the pin control on a ticket card and it sorts to the top on this device. The pin is remembered locally, not on your account.
Showing your ticket at the door
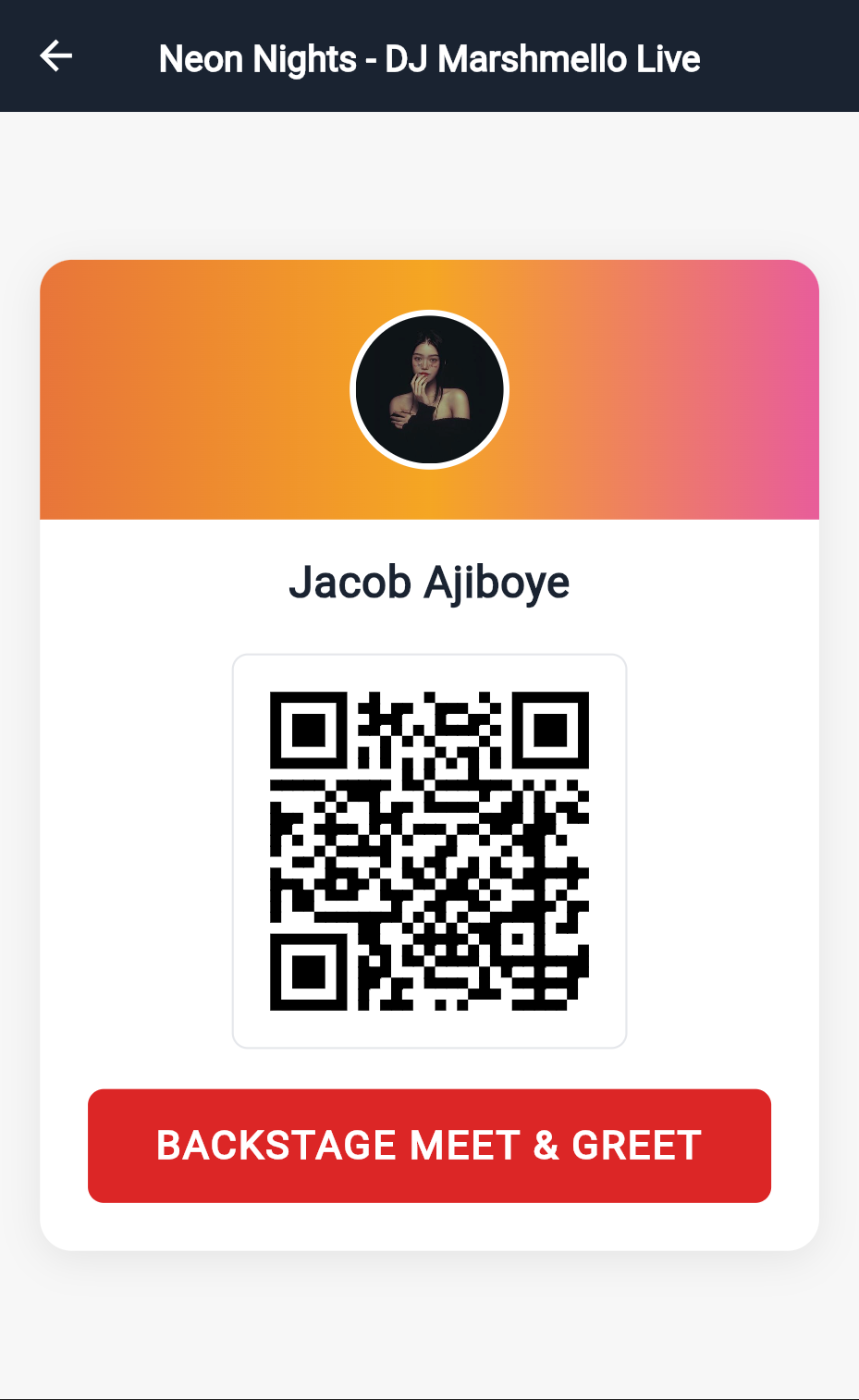
Open the ticket and show the QR code, or tap it for a full-screen version. Staff scan it.
The code is not a static image. It is signed and rotates on a short interval, and the app fetches a fresh one when you open the ticket. Two things follow from that:
Open the ticket once while you still have signal. The QR then renders without a round trip, and the app keeps the last one it fetched.
Do not rely on a screenshot from last week. A code older than the rotation window will not validate. Open the real ticket.
There is no Apple Wallet or Google Wallet pass in this app. The ticket lives in the app.
Validation asks the server whether that ticket has already been used at another door. That check cannot happen offline, so it waits for connectivity. If the door is struggling, it is the venue network, not your phone.
Giving a ticket to someone else
From the ticket, choose Assign to someone and enter their email address (a name is optional). The booking summary right after purchase offers the same thing as Transfer. Both do the same transfer on the server.
They receive an email with the ticket details and a new QR code. Yours stops being the valid one — the codes are not interchangeable, so you cannot both use it. The ticket's status becomes transferred.
Organizers can disable transfers per ticket type and set a transfer deadline. If the option is missing or refused, that is why.
Use this rather than screenshotting your QR for a friend. A forwarded screenshot is the same ticket, and whoever scans second is turned away.
Perks on a ticket
Some ticket types carry perks — a drink token, a meal, merchandise. They show on the ticket. A perk is claimed by you at a scan point and fulfilled by staff, and the ticket keeps count so a token cannot be redeemed twice. Claimed perks usually travel with a transferred ticket.
Troubleshooting
My ticket is not showing up
Almost always an email mismatch. Work through these in order:
1. Check which email you are signed in with. Me → Edit profile.
2. Check which email you bought with. It is on the confirmation email.
3. If they differ, either sign in with the purchase email, or ask the organizer to reassign the ticket to the address you use.
4. If they match, pull to refresh on the tickets screen — the list is cached.
I paid but have no ticket
The booking was probably created but never confirmed — payment succeeded, step three did not complete.
Look the booking up with your email and booking reference. If it shows as paid but has no tickets, send the organizer that reference; they can confirm it from their side. Do not pay again.
The QR will not scan
- Turn screen brightness up. Dim screens are the usual cause.
- Remove any screen dimming or blue-light filter.
- Close and reopen the ticket so a fresh code is fetched.
- If the scanner shows an error rather than failing to read, the ticket may already be checked in — see the organizer.
The app says my ticket is already used
Either it was scanned at another door, or someone else used a copy of the code. Organizers can see the check-in record, including which device scanned it and when. Some ticket types allow re-entry; most do not.
I cancelled but was still charged
Cancellation and refund are separate. A cancelled ticket is not automatically refunded — contact the organizer, since refunds are theirs to issue.